Using Hashcat to Crack Hashes on Azure
More than one friend recently has had their social media account compromised or stolen. Often this is a consequence of a combination of bad password hygiene and a third party data breach. If you use the same password on multiple sites, and one of those sites suffers a breach, you run the risk that your account on every other site where you reused that password is vulnerable to compromise. As an excuse to try out the new Azure N series VMs with their NVidia GPUs, I found an email I recognised in one of the breaches, and followed it from hash through to brute-forced password to prove the point.We’re going to need a few things to do this:
- A known breach containing hashes we can work with
- A copy of the data leaked from that breach
- A tool to recreate the hash based on a wordlist
- A wordlist to use as basis for the hashing
- Enough compute power to do this reasonably quickly
I used the Have I been pwned? site to identify a breach containing the email in question. This led me to a hash from the 2012 Dropbox breach (available in various locations in the less salubrious areas of the ‘net), and we’ll use the magnificent Hashcat to calculate hashes from a wordlist to find the password. I’ve had, since my days as an InfoSec consultant, a number of wordlists used for this kind of thing. In this case I’ll use a file of 10 million common passwords.
With my allocation of free Azure credits I can spin up one of the new(ish) Azure NVidia GPU VMs. For the time being these are only available in a few regions and with specific configurations. When creating the VM you’ll need to choose a US region (I put mine on the East coast) and must choose HDD for disk type as SSDs are not available on the NV VMs yet. I chose the Standard NV12 which has 12 cores and 112 GB memory – but cores and RAM are not important for our purposes – we care about the 2x M60 GPUs. For the OS, I’m running Ubuntu 16.04 LTS.
So having gone through the Azure setup – and configured your SSH keys – you’ll connect to the box. We need to do some housekeeping, grab a copy of hashcat (plus 7zip to extract it) as well as downloading NVidia drivers to ensure best hashcat performance:
sudo su
apt-get update && apt-get install gcc make p7zip-full
wget -O NVIDIA-Linux-x86_64.run https://go.microsoft.com/fwlink/?linkid=836899
chmod a+x NVIDIA-Linux-x86_64.run
wget https://hashcat.net/files/hashcat-3.5.0.7z
7z x hashcat-3.5.0.7z
Replace hashcat-3.5.0.7z with whatever is current on the hashcat site.
Next, update the blacklist to disable the standard drivers. We’ll install the NVidia drivers we just downloaded after a reboot.
echo 'blacklist nouveau' >> /etc/modprobe.d/blacklist.conf
echo 'options nouveau modeset=0' >> /etc/modprobe.d/blacklist.conf
reboot 0
When the box comes back up, log back in, sudu su again, and run the NVidia driver installer:
sudu su
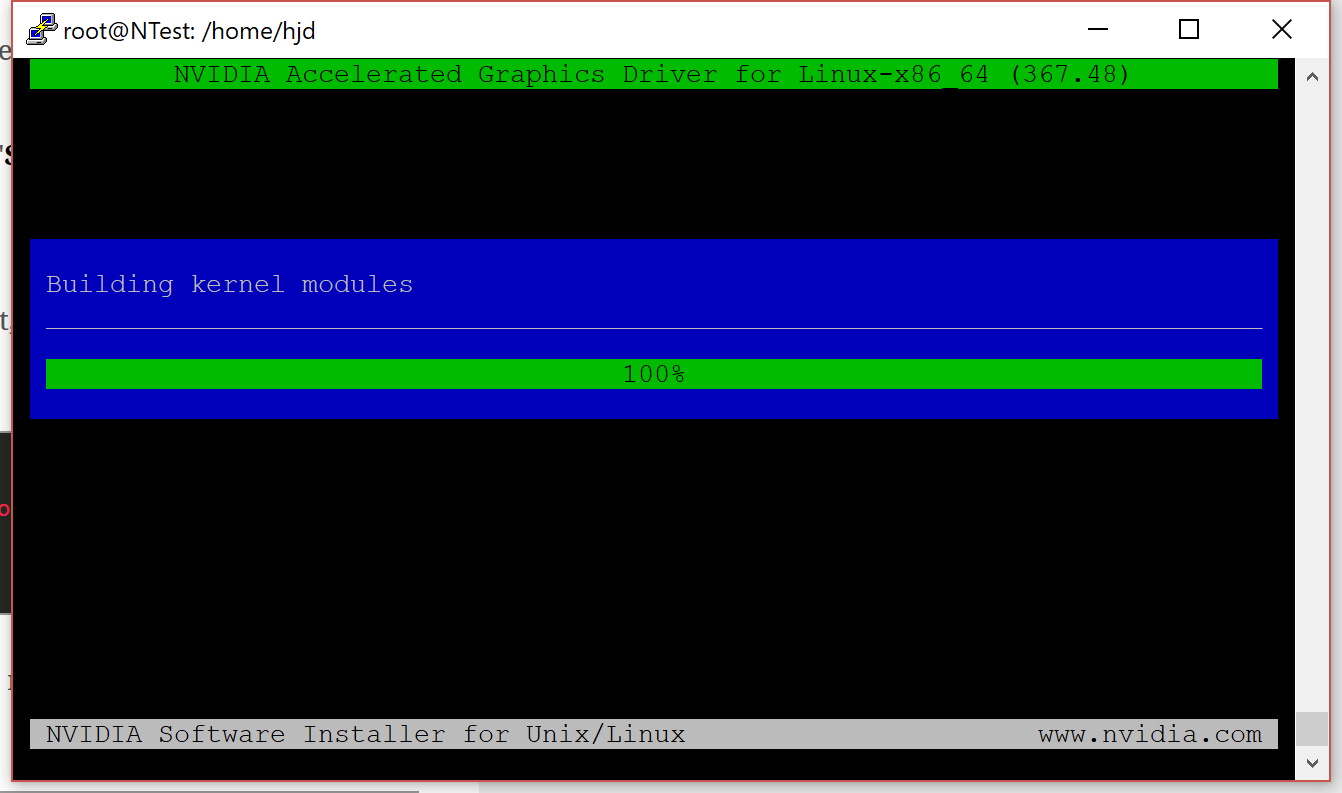
./NVIDIA-Linux-x86_64.run
You’ll have to accept an EULA before the install starts…

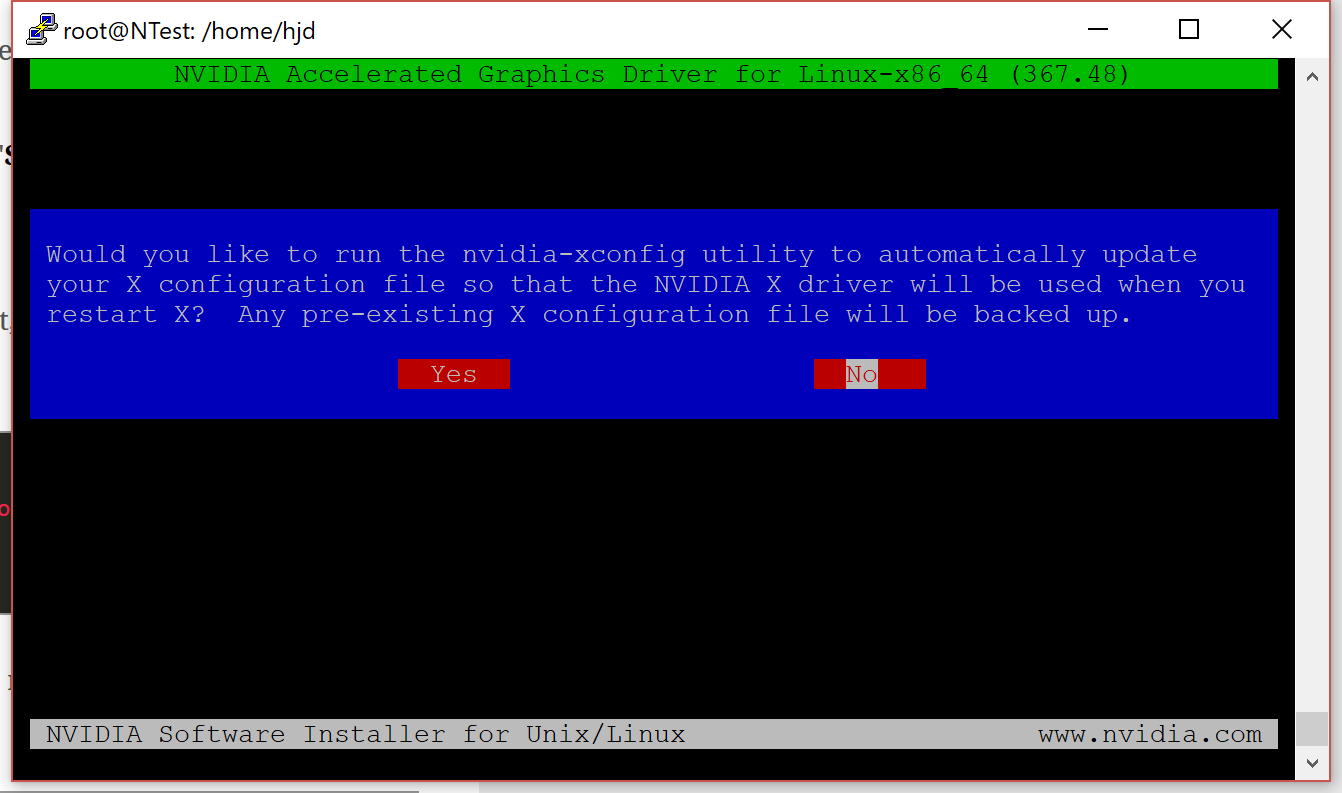
You’ll also have to update the X configuration – I said yes, but it didn’t matter for what we’re doing.

Once complete, you’ll be dropped back to the prompt and can do a final reboot to enable the drivers:
reboot 0
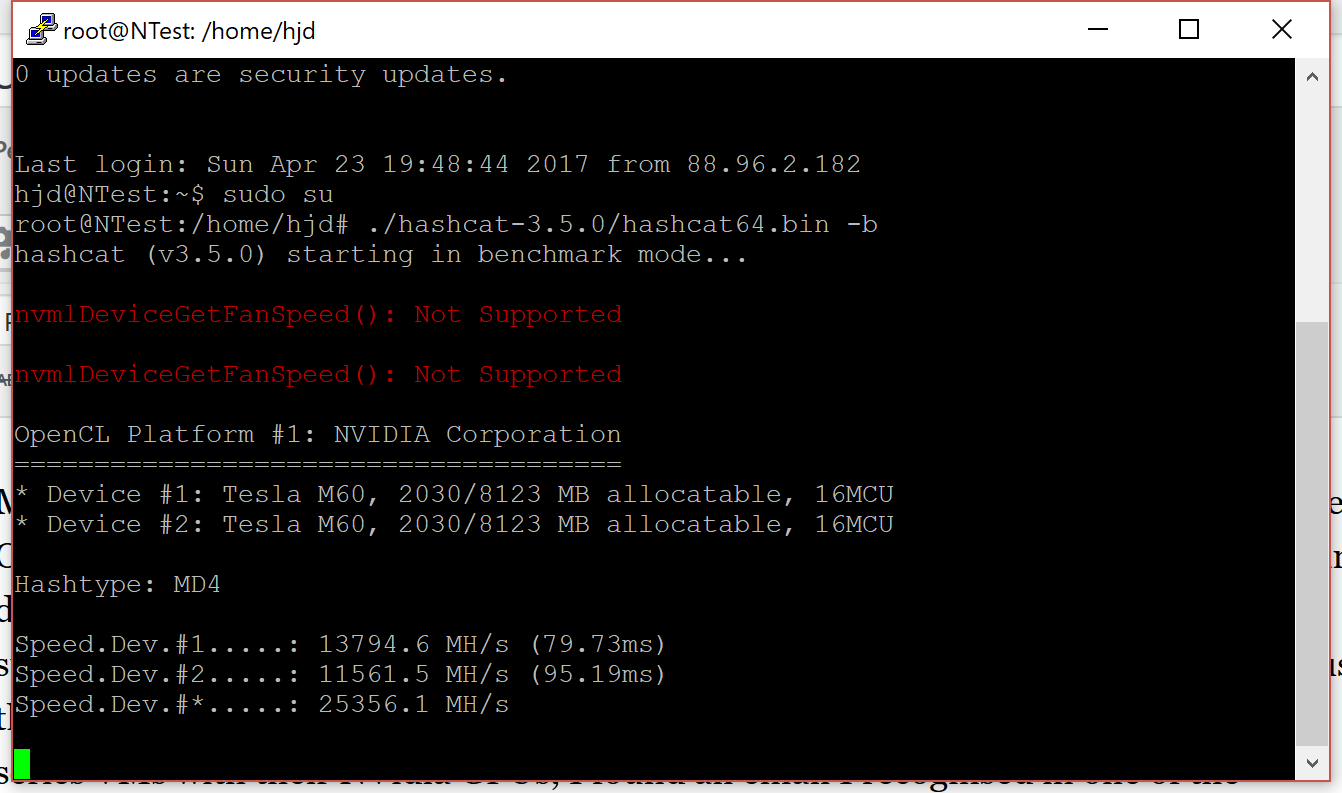
Log back in, and run the hashcat benchmark to check everything is working:
sudo su
./hashcat-3.5.0/hashcat64.bin -b
In the resulting output you’re looking for a couple of lines identifying the OpenCL devices detected by hashcat. In my case, it has found my two Tesla M60 devices:

It’ll continue to run the benchmarks for all the hashes it is capable of calculating.
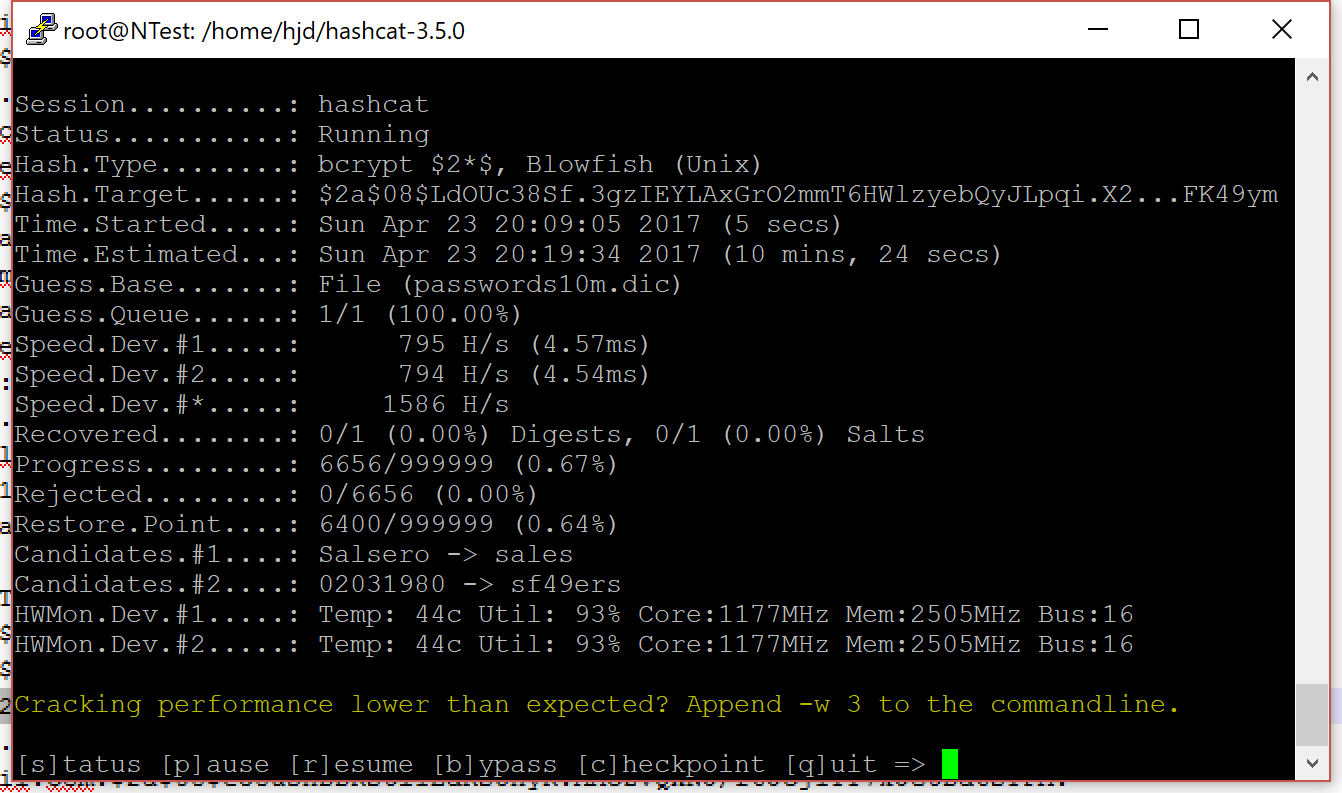
It’s now ready to run real hash workloads for us, here’s a sneak peak of a very basic crack running:

I’ll cover more complex cracks – where hashcat modifies the content of the wordlist with rules – in a future post.
This server would cost 1200 quid a month to keep running non-stop, but as with any Azure VM you can shutdown and “deallocate” it to stop paying for the compute. The cost of setting up this VM, and running it for about 10 minutes to calculate the hash I needed was a couple of quid. When I need it again I can restart it in the Azure portal – connect to the new IP it gets, and away I go.
Enjoy Reading This Article?
Here are some more articles you might like to read next: