3D Rendering Your In-House GPS
As a Home Automation geek, I’ve been playing with esp-32 devices running the excellent ESPresense, an ESP32-based presence detection system for use with Home Assistant.
With enough of these spread around the house, you can use the Bluetooth Low Energy radio to detect the signal strength of other BLE devices - for example, simple BLE trackers you might have attached to a dog. Or an Apple Watch. Or a FitBit. Or an iPhone. You get the idea.

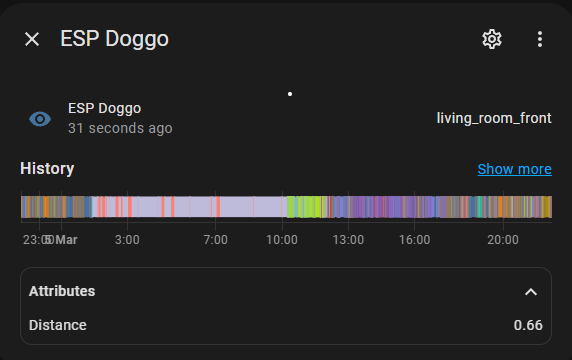
By default, each node dotted around the house just reports the signal strength, and Home Assistant attempts to determine which room the item is in. For example, here’s the raw output of Home Assistant’s view of ESP Doggo - the tag on our idiot Cavapoo:

It shows ESP Doggo as nearest to the node in “living_room_front”, at a distance of about 0.66 metres.
This is clever - and can be used to run all sorts of useful automations based on devices, people and dogs entering and leaving rooms.
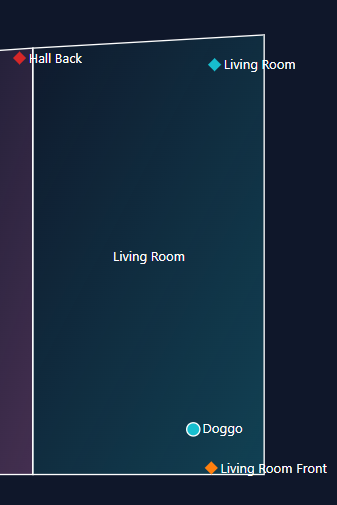
But I like to see my data. On maps. Enter the really very clever ESPresence-Companion. With a bit of YAML configuration magic you can plot your house layout, and ESP-companion will use the data from multiple esp32 nodes to properly triangulate the location of a device. It is internal GPS for your house!
Here’s the map output for Doggo in the living room:

I think we can all agree that’s pretty neat. But 2D is so 20th century. We need 3D!
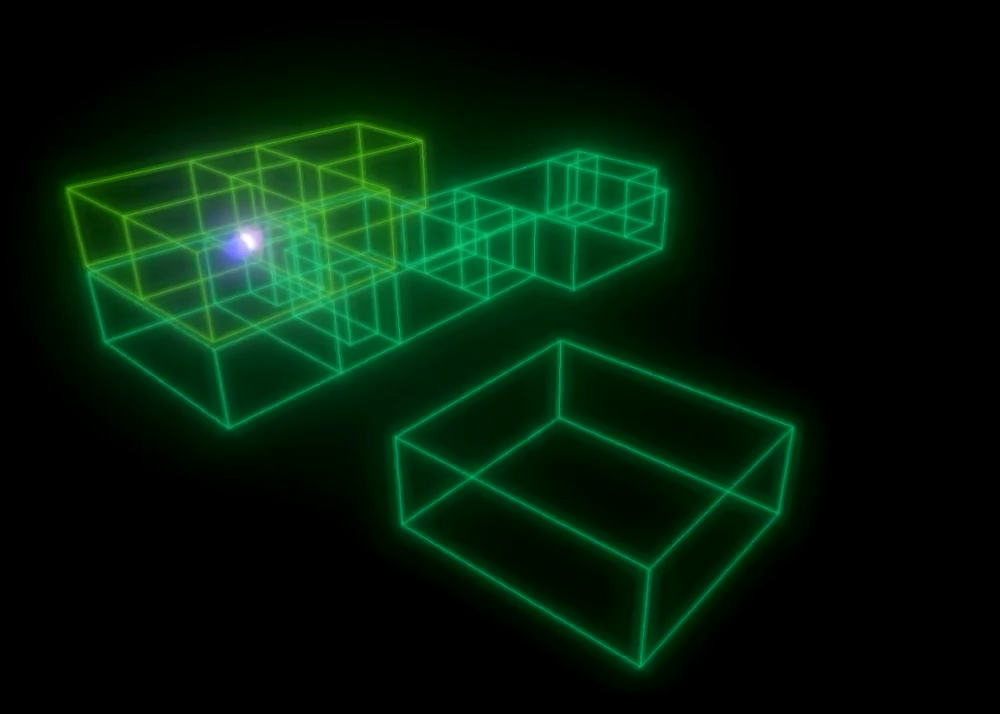
So I built an app to pull data from ESPresense-companion and render a fully rotatable, zoomable 3D model complete with objects representing where your devices are located.
This uses Three.js - the javascript 3D library. It pulls the floorplan, boundaries and ceiling heights of your house from the ESPresense-companion config, and renders a matching 3D model by pulling the live device location data (x,y,z) from the mqtt server.
I’d never looked at Three.js before this, so this took a lot of trial and error - and copious cribbing from the tutorials and example pages. Also, because I’m a geek of a certain age, it was very important it look like something rendered in 1982 by the team behind TRON. So there is a lot of bloom. 😀
A note on credentials
My first version of this ran entirely in the browser - and used websockets to grab the mqtt data. Unfortunately that meant that the mqtt credentials were available in the clear in the web app (since they can be retreived from the esp-companion API). So this version separates the business of talking to the API and the mqtt server, and allows the front end to consume only the data it needs to operate.
It is a node.js app, that first connects to the espresense API to get the config. This includes the mqtt server and credentials, plus the config of the floorplan - including boundary heights. These are passed to the front-end to allow Three.js to build the model. The node.js server connects to the mqtt server and receives events when tracking data changes. By default, every five seconds these are requested by the front-end to update the tracking spheres in the model.
How to Run
The repository and more info are over on GitHub.
Node.js
Make sure to set the environment variables:
      ESPC3D_PORT: 3001
      ESPC3D_API: "http://<ip>:<port>/api"
Set ESPC3D_PORT for the port to run the app on, and ESPC3D_API for the full URL for the ESPresense-companion API. If you’re running that in Docker, it’ll be on port 8267. I don’t run it as an HA addon so can’t speak to connecting to that.
Extract the repo and run npm install, set the environment variables and then npm start.
Docker
Copy the entire repo to a directory and put this in your docker-compose.yaml. The context under build should point to the directory with the Dockerfile and other code in.
version: "3.3"
services:
  espc3d:
    build:
      context: "./espc3d/"
    container_name: espc3d
    restart: unless-stopped
    expose:
      - 3001
    environment:
      ESPC3D_PORT: 3001
      ESPC3D_API: "http://<ip>:<port>/api"
Connect to port 3001 on the docker host, and enjoy your gently rotating 3D house with internal GPS!
I’d love to see how this works on other floorplans since it has only been tested on my house, so do share if you try it.
Enjoy Reading This Article?
Here are some more articles you might like to read next: